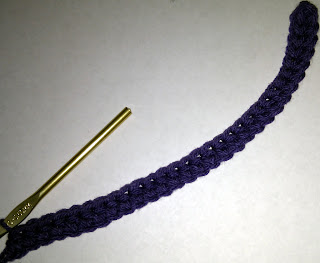
What you will need:
- Size I/9-5.50mm crochet hook
- worsted weight yarn
- tapestry needle
What you need to know:
- HDC- Half Double Crochet
- SS- Slip Stitch
- BLO- Back loop only
Instructions:
>>Chain 31.
>>Starting with the 2nd chain from your hook loop, HDC in each chain stitch until you reach the end of the chain. (30 HDC total per row)
>>Chain 1 & turn your work.
**You will be working in the back loops the entire project from this point.
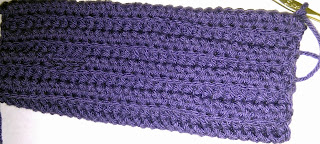
>>Working in the back loops only [BLO], continue to work 3 more rows. (4 rows total, 30HDC per row)
>>Chain 1 at the start of your 5th row. HDC in the next 20 stitches. Chain 4.
>>Skip the next 4 stitches. HDC in 5th stitch. [pictured below] & finish crocheting your row.
>>Continue working 11 more rows of HDC in BLO until you have a total of 16 rows.
>>Fold your work in half to line up your last crochet row with your foundation chain.
**This is where we will seam the gloves together with a Slip Stitch.
>>Insert hook into first foundation chain & through the back loop of the first crochet & secure together with a slip stitch.
(Its kind of difficult to see, but that is the first slip stitch of this seam)
>>Continue to seam this together with a slip stitch all the way to the end of the row. Fasten with a chain stitch.
(This seam is nearly invisible on this side, but when you turn it inside out, you can't even tell it's there!)
>>Cut your yarn and sew in your tails with the tapestry needle. Turn inside out so that seam is on the inside of the armwarmer.
>>Try it on!
(Repeat for matching arm warmer)
Once you get the hang of this pattern it is so easy. It's simple & easy to remember. You can do all kinds of extras to spice these up like a border or lace around the edges or maybe even add some stripes!
If you try making your own pair, send me photos of your finished product. I would love to see them!


